The first time you run xtide, you will get a license and disclaimer window. Read it, then click "Don't show this again" and dismiss it.
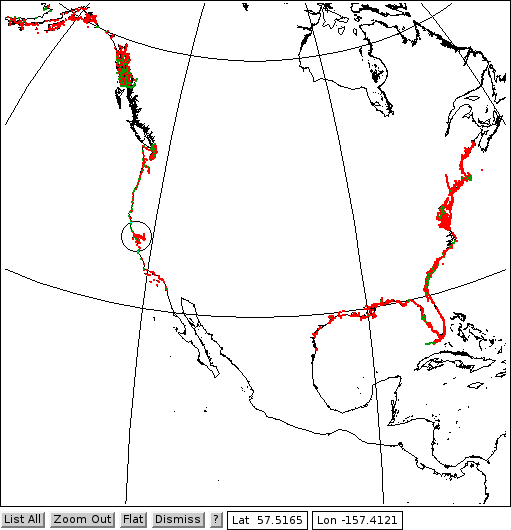
When XTide is finished indexing the harmonics files, you get a location chooser consisting of a map window and a location list window. If XTide was built with GPS support and your GPS is present and working, the map zooms in on your current location automatically. Otherwise, the map initially shows an entire hemisphere of the globe.
The location list enumerates every tide station that is plotted on the map. Buttons with labels such as "A-S" and "S-Z" appear on the location list window if the list is too long to display all at once; use these buttons to switch between the different pieces of the list.
(If you do not get outlines of coastlines, please refer to the installation section regarding World Vector Shoreline files.)


You can change to a flat map projection that shows the entire world at once by clicking on Flat. You can make this your default location chooser if desired using the control panel described in the next section.
You can zoom in on an area by clicking on the map with the left mouse button; zooming out is accomplished with the button at the bottom of the map window. Your view can be shifted left, right, up, or down using the arrow keys on the keyboard. The location list updates to contain only those tide stations that are visible. You can cause the location list to include all available locations at once by clicking on List All. This will also bring up any locations whose coordinates are unknown.
Instead of zooming, you can narrow the list to a small area by clicking on that area with the right mouse button. A circle will be drawn on the map indicating the area selected:

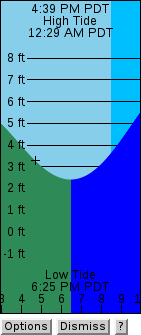
When you are ready to choose a location, you can either click on it in the location list or zoom down to it on the map and click on the appropriate red or green dot with the middle mouse button. (Red dots indicate tide stations; green dots indicate currents.) A tide or current graph for the selected location will then pop up.
The Backward and Forward buttons allow you to move forward or backward in time by a small amount. Pull down the Options menu to gain access to the Set Time option, which allows arbitrarily large adjustments. The Options menu also provides these other options:
Option Function Save Export the contents of the window to a PNG, SVG, or text file, as appropriate. (In raw and medium rare modes, you are given the opportunity to adjust the start and end times for the output.) Set Mark See next section. Convert ft<->m Convert units to the preferred system. Set Aspect See next section. Set Step See next section. New Graph Window Pop up a graph mode window for the location. New Plain Mode Window Pop up a plain mode window for the location. New Raw Mode Window Pop up a raw mode window for the location. New Medium Rare Mode Window Pop up a medium rare mode window for the location. New Clock Window Pop up a clock mode window for the location. About This Station Show station metadata. About XTide Show XTide version and GPL. New Location Chooser Pop up a new location chooser. Control Panel See next section.
Without getting into the complicated options, you can navigate from the location chooser to a graph window to other modes for the same location as you see fit. Use the Dismiss buttons to get rid of windows that you are through with.

|
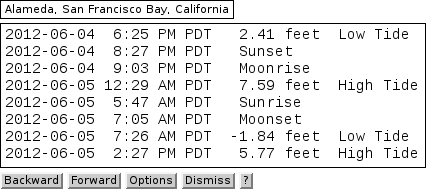
In text windows, you can use the Forward and Backward buttons to scroll forward and backward in time, or you can use the mouse wheel. Text windows provide the same Options menu that is available on graph windows. |

|

|
By default, clock windows first appear with no buttons whatsoever, which is how you want them if you are going to leave them running on your desktop. However, you can make the buttons appear and disappear by clicking anywhere on the graph inside of the clock window. The Options menu is again the same. Forward and Backward buttons are not provided for the obvious reason. |